Remove · identify the release first
How to remove a drawer from its slides
Empty the drawer, support its weight and look for the release along the rails or underneath. The right motion depends on the hardware; reaching a stop is not a reason to pull harder.
Choose the release you can see
You do not need the brand to start. Select the visible arrangement, or choose “No visible release / not sure.” This helps with access; it does not diagnose why the drawer is malfunctioning.
If you opened this guide from Planner, keep that tab open and return there to continue with your answers.
The interactive Planner needs JavaScript. The guidance on this page remains available below.
Before releasing anything
Clear a place to set the drawer down. Open it only as far as it moves normally, and support it before disengaging the hardware. If you cannot support it while reaching the releases, get another person to help hold it.
Look at both sides and the accessible underside with a light. Photograph the arrangement before moving a catch. A lock that holds the drawer open or closed is not automatically its removal release. Use any brand and model marking to find the matching instructions.
Match what you see to the removal method
- Levers along the slide rails
- Locate the disconnect on each side and check the model’s release directions. Mirrored levers may operate differently. Support the drawer and release the members as instructed before drawing them out evenly; do not assume both levers push down.
- A button or latch
- Confirm that it releases the drawer member rather than another function. Follow the matching button or latch procedure. If it will not move, check engagement and the instructions instead of levering it with a tool.
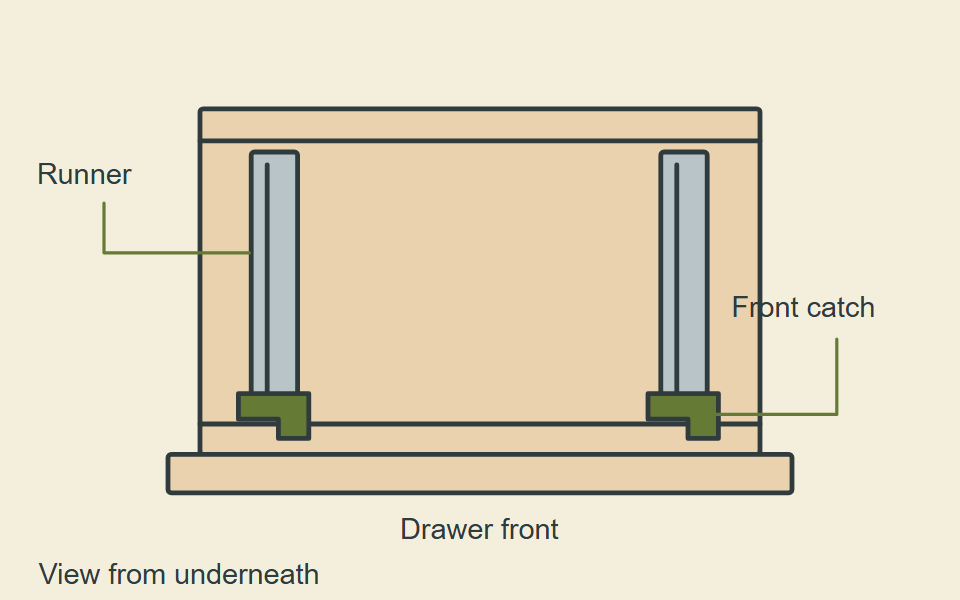
- Locking clips underneath
- Look near the front of the drawer for paired locking devices. Release the locks using the system’s method, then follow its lifting or withdrawal sequence. As a specific example, the TANDEM 563H/563. sheet shows squeezing the orange locking-device handles and withdrawing the drawer outward and upward. Apply that sequence only to the documented hardware.
- Rollers with a lift-out opening
- Use the roller model’s lift-out path and required clearance. Some drawers lift to pass their stops; the shape and position matter. If the drawer hits the opening or a wheel remains trapped, stop and check the method rather than lifting harder.
- A visible stop
- Identify whether the stop is intended to release, rotate or be removed. Move or remove it only as its instructions specify, with the drawer supported. Do not bend a stop tab or break a plastic part to get past it.
- No visible release
- Inspect only accessible areas and look for identification markings. Some slides use other disconnect arrangements, and some do not disconnect. Absence of a lever does not establish which type you have. Use the old-hardware identification guide to narrow the search; keep removal-dependent checks unresolved until access is possible.
Refit, then continue the original task
Use the model’s insertion instructions; removal in reverse is not always the full re-engagement procedure. Keep both sides aligned, check that the required locks and rear attachments engage, and test the drawer empty before returning its contents.
For a front that sits unevenly, continue with the adjustment guide. For an unresolved problem, return to your existing Planner tab or start a new check. Successful removal alone does not prove that the slides are damaged or need replacing.